Overdrive Clutch Assembly: Disassembly
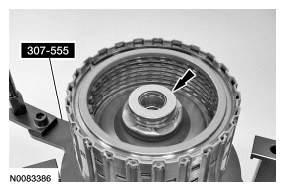
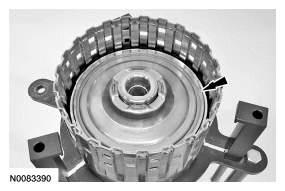
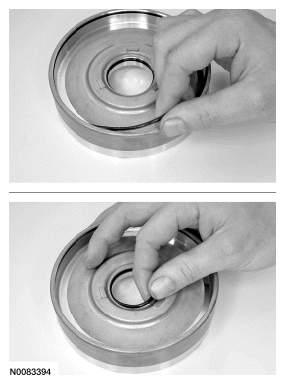
- Position the Overdrive (O/D) clutch assembly in the Clutch End Play Gauge 307-555 and remove the T3 thrust bearing.
 Courtesy of FORD MOTOR CO.
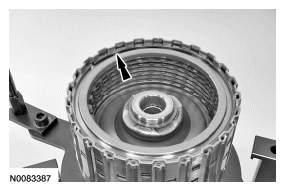
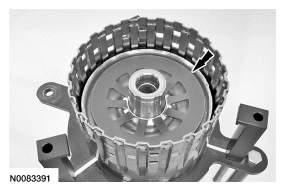
- Remove the O/D
clutch pack snap ring.
 Courtesy of FORD MOTOR CO.
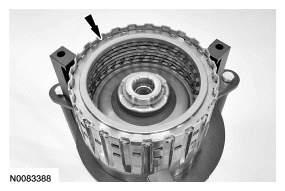
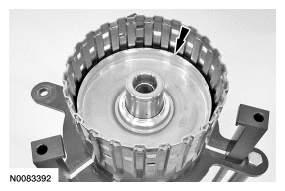
- Remove the O/D
clutch pack.
 Courtesy of FORD MOTOR CO.
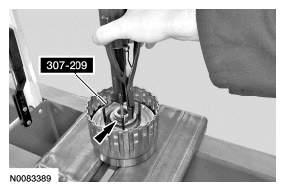
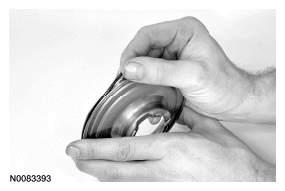
- Using the Spring Washer Compressor 307-209 and a press, remove and discard the O/D
clutch balance piston retaining ring.
 Courtesy of FORD MOTOR CO.
- Remove the O/D
clutch balance piston.
 Courtesy of FORD MOTOR CO.
- Remove the O/D
clutch return spring.
 Courtesy of FORD MOTOR CO.
- Remove the O/D
clutch apply piston.
 Courtesy of FORD MOTOR CO.
- Remove and discard the outer O-ring seal on the O/D
clutch balance piston.
 Courtesy of FORD MOTOR CO.
- Remove and discard both the inner (one large and one small) O-ring seals on the O/D
clutch apply piston.
 Courtesy of FORD MOTOR CO.
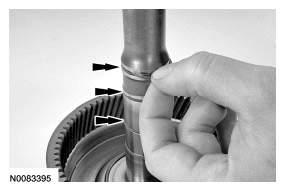
- Remove and discard the 3 scarf cut seals.
 Courtesy of FORD MOTOR CO.