Fender
Fender
Removal and Installation
All vehicles
1. Remove the front fender splash shield. For additional information, refer to Fender Splash Shield Fender Splash Shield.
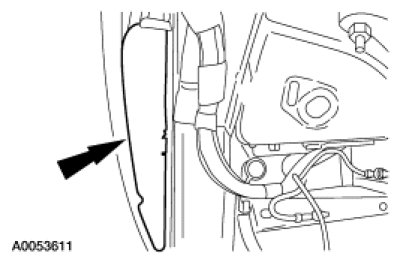
2. Remove the fender baffle.
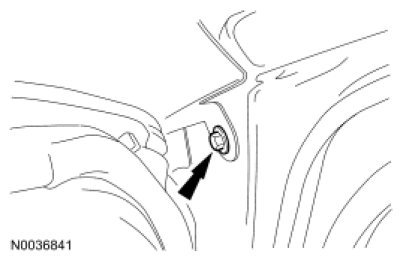
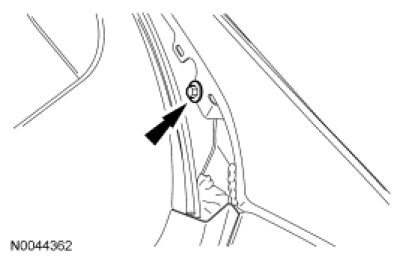
3. Remove the upper rear inner fender bolt.
- To install, tighten to 5 Nm (44 lb-in).
4. Remove the 2 lower fender bolts.
- To install, tighten to 9 Nm (80 lb-in).
Fusion and Milan only
5. Remove the side turn signal lamp.
All vehicles
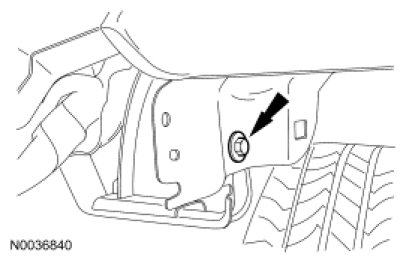
NOTE: The front door must be open to gain access to the rear fender bolt.
6. Remove the upper rear fender bolt.
- To install, tighten to 9 Nm (80 lb-in).
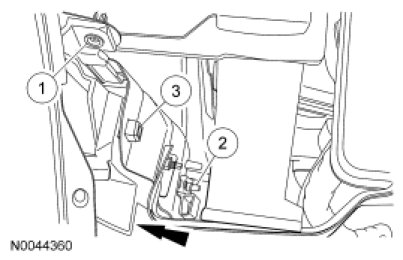
7. Remove the bumper cover bracket from the front fender.
1. Remove the screw.
2. Remove the bolt.
3. Pull outward to release the clip.
8. NOTE: Two bolts are required for Fusion and Milan, one bolt is required for MKZ.
Remove the fender support brace bolt.
- To install, tighten to 9 Nm (80 lb-in).
9. Remove the pushpin from the front fender to headlamp.
10. Remove the upper rear inner fender bolt.
- To install, tighten to 5 Nm (44 lb-in).
11. Remove the 3 upper fender bolts and the front fender.
- To install, tighten to 9 Nm (80 lb-in).
12. To install, reverse the removal procedure.