Tilt Sensor Circuit
- Connect Lexus Hand-Held Tester (scan tool) to Data Link Connector 3 (DLC3). Turn ignition and tester on. Select ACTIVE TEST mode on tester. Using tester, tilt steering wheel up and down. Read TILT POS voltage on tester. If scan tool is not available, remove tilt and telescopic ECU with harness connector connected. Measure voltage between 22-pin ECU connector (T9), terminal No. 19 (Pink/Blue wire) and 12-pin ECU connector (T8), terminal No. 2 (Brown/White wire). See Figure. Voltage should be less than 2.5 volts in upper range (tilted up) and 3.5-5.5 volts in lower range (tilted down). If voltage is not as specified, go to next step. If voltage is as specified, go to TROUBLE SHOOTING and identify next circuit to be checked.
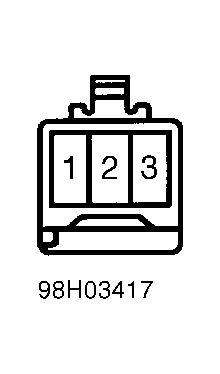
- Disconnect 3-pin tilt sensor connector. See Fig 1. Check resistance between sensor terminals No. 1 and No. 2. Resistance should be 3500-6500 ohms. Check resistance between sensor terminal No. 2 and No. 3. Resistance should be less than 2000 ohms in upper range and 3500-6500 ohms in lower range. If resistance is not as specified, replace sensor. If resistance is as specified, check wiring harness between tilt sensor and tilt and telescopic ECU. See WIRING DIAGRAMS. Repair as necessary. If wiring is okay, go to TROUBLE SHOOTING and identify next circuit to be checked.
 Courtesy of © TOYOTA, LICENSE AGREEMENT TMS1002