- Remove drain plug from oil pan and then drain the CVT fluid.
- Remove drain plug gasket.
- Disconnect battery cable from negative terminal. Refer to
, "REMOVAL AND INSTALLATION (MR20DE BATTERY)
" (MR20DE) or
, "REMOVAL AND INSTALLATION (QR25DE BATTERY)
" (QR25DE).
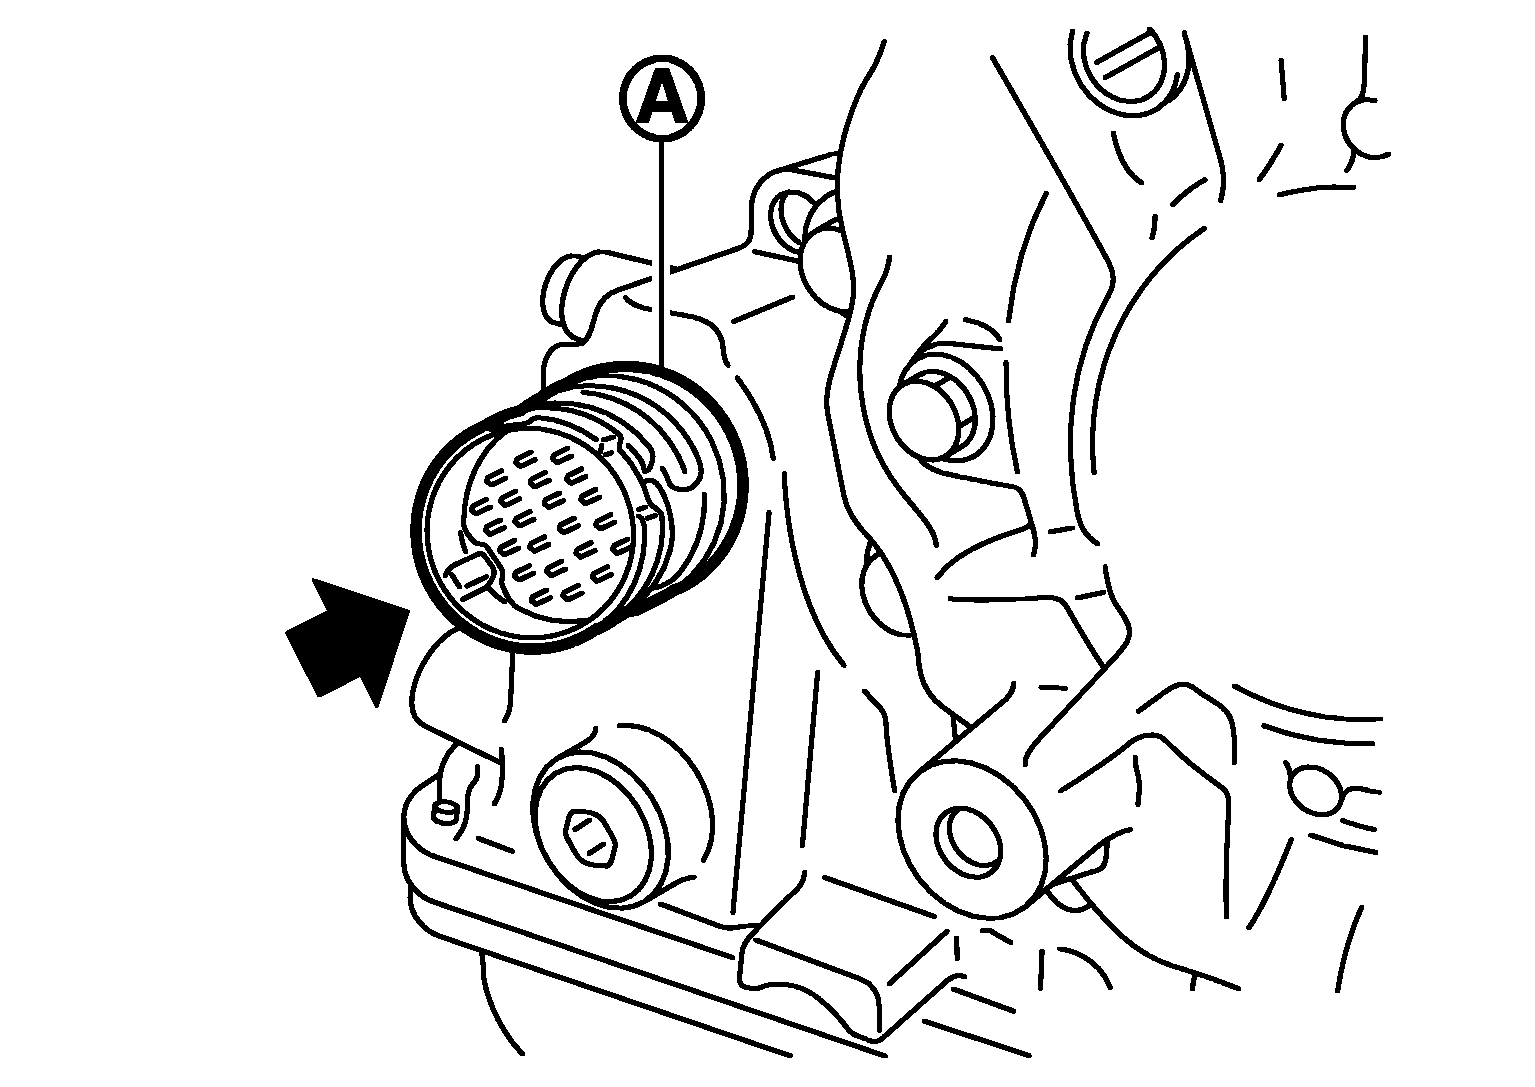
- Disconnect the CVT unit connector. Refer to
"REMOVAL AND INSTALLATION PROCEDURE FOR CVT UNIT CONNECTOR ".
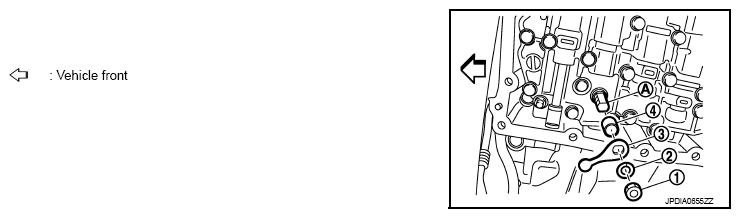
- Remove the snap ring (1) from the CVT unit connector (A).
 Courtesy of NISSAN NORTH AMERICA, INC.
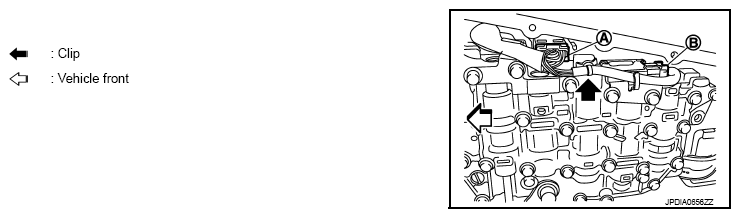
- Press the CVT unit connector (A) into the transaxle case.
CAUTION:
Never damage the CVT unit connector.
NOTE:
Clean around the connector to prevent foreign materials from entering into the transaxle case.
 Courtesy of NISSAN NORTH AMERICA, INC.
- Remove the oil pan bolts, and then remove the oil pan and oil pan gasket.
- Remove the magnets from the oil pan.
- Remove the lock nut (1) and washer (2), and then remove the manual plate (3).
 Courtesy of NISSAN NORTH AMERICA, INC.
- Remove the collar (4) from the manual shaft (A).
CAUTION:
Never drop the collar.
- Disconnect the connectors (A) and (B).
 Courtesy of NISSAN NORTH AMERICA, INC.
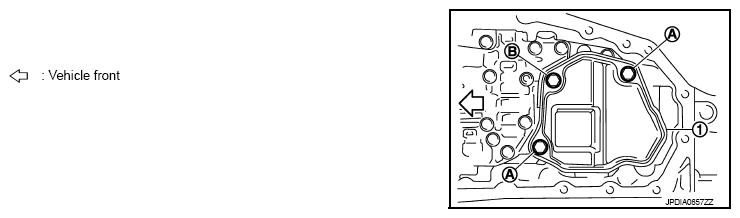
- Remove the oil strainer assembly bolts (A) and (B), and then remove the oil strainer assembly (1).
 Courtesy of NISSAN NORTH AMERICA, INC.
- Remove O-ring from oil strainer assembly.
- Remove the bracket (1).
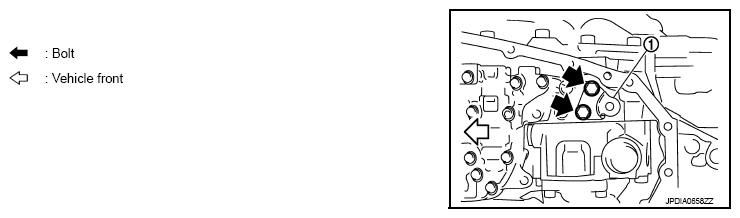 Courtesy of NISSAN NORTH AMERICA, INC.
- Remove the control valve bolts (A) and (B), and then remove the control valve from the transaxle case.
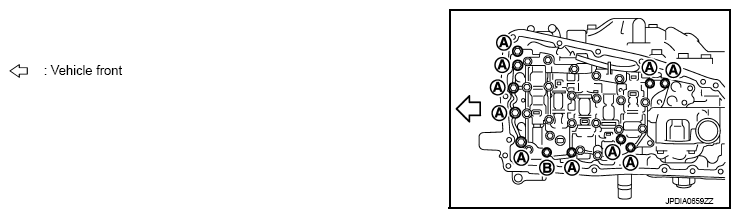 Courtesy of NISSAN NORTH AMERICA, INC.
CAUTION:
Never drop the control valve, ratio control valve and manual shaft.
- Remove CVT unit connector (A) from the transaxle case inside.
 Courtesy of NISSAN NORTH AMERICA, INC.
- Remove the lip seal (1) from the transaxle case.