Audio-HVAC Display Unit Removal/Installation
Audio-HVAC Display Unit Removal/Installation
With Premium Audio
SRS components are located in this area. Review the SRS component locations Locations and the precautions and procedures Service and Repair before doing repairs or service.
NOTE:
- Put on gloves to protect your hands.
- Take care not to scratch the dashboard.
- When prying components, use the applicable KTC trim tool or equivalent.
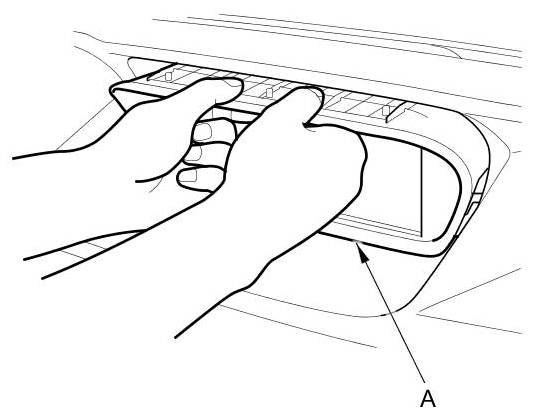
1. Carefully pull out the audio-HVAC display unit (A).
NOTE: You can remove the display visor by placing your fingers between the dashboard and display visor, then pull the display visor out.
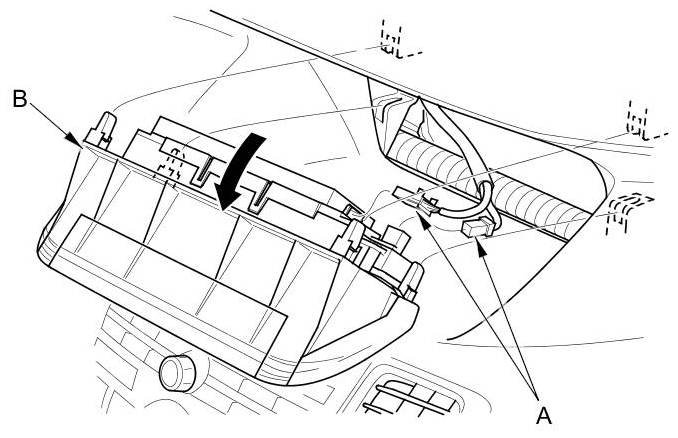
2. Disconnect the connectors (A), and remove the audio-HVAC display unit (B).
3. Remove the passenger's airbag cutoff indicator Service and Repair from the audio-HVAC display unit.
4. Install the audio-HVAC display unit in the reverse order of removal.