CMP Synchronizer: Installation
- Install Synchro Positioner (T95T-12200-A) on synchronizer assembly (CMP sensor removed). Turn synchronizer shaft clockwise until tool boss engages with notch in synchronizer housing. Tool should fit squarely in top of synchronizer housing.
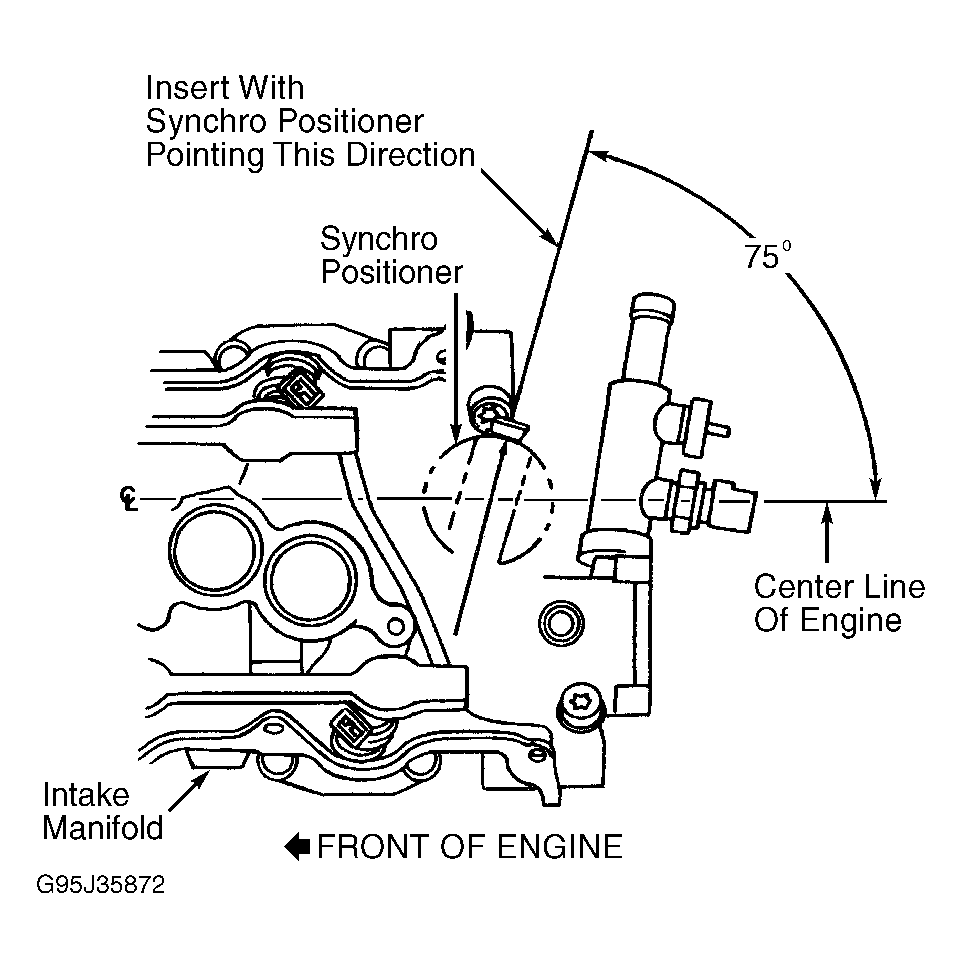
- Install intermediate shaft in synchronizer assembly. Lubricate synchronizer drive gear with engine oil. Insert synchronizer assembly into engine. While inserting, synchronizer assembly will rotate. When installed, synchro positioner should point 75 degrees from engine centerline. See Fig 1.
- If synchro positioner is not pointing in correct direction, remove synchronizer assembly and start again from step 1). If installed correctly, install and tighten hold-down clamp and remove synchro positioner.
- Install CMP sensor and tighten screws to specification. See TORQUE SPECIFICATIONS . Connect CMP sensor harness connector and negative battery cable.
 Courtesy of FORD MOTOR CO.