Rear Defogger Timer Circuit (Prelude)
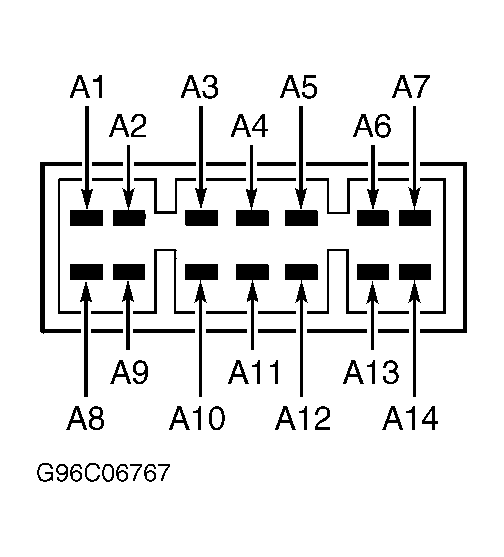
- Remove driver's Multiplex Control Unit (MCU) from underdash fuse/relay box. Using a DVOM, check readings for specified MCU connector terminals of underdash fuse and relay box. See Fig 1. Check for good terminal connections between MCU and connector of underdash fuse and relay box. Repair as necessary.
- Using a DVOM, check for continuity between MCU connector terminal A9 of underdash fuse and relay box and ground, while depressing defogger switch. If continuity exists, go to next step. If continuity does not exist, check for faulty defogger switch, poor harness ground connector G901, or an open in Yellow/White wire. Repair as necessary.
- Turn ignition on. Connect a jumper wire between terminal A10 and ground. Rear defogger should work, and defogger indicator light should illuminate. If defogger operates, go to next step. If defogger does not operate, check for blown fuse No. 11 (7.5-amp), of underdash fuse/relay box. Check for faulty defogger relay, blown illumination LED, or an open in circuit between MCU and defogger relay. Repair as necessary.
- Ensure ignition is on. Check for battery voltage between terminal A13 and ground. If battery voltage exists, system is operating properly. If battery voltage does not exist, check for blown fuse No. 13 (15-amp), in underdash fuse/relay box, or an open in circuit between MCU and ignition switch. Repair as necessary.
 Courtesy of AMERICAN HONDA MOTOR CO., INC.