Lower Control Arm: Installation
- Install shock absorber bracket to lower control arm assembly with bolt. Tighten to specification. See TORQUE SPECIFICATIONS .
- Install lower control arm assembly with camber adjust cam No. 1, camber adjust cam No. 2 and nut. Align matchmarks on camber adjusting cam and suspension crossmember. See Figure. After stabilizing suspension, tighten to specification. See TORQUE SPECIFICATIONS .
- Install lower control arm assembly to lower ball joint. Install nut and NEW cotter pin. See Fig 1. Tighten to specification. See TORQUE SPECIFICATIONS .
- Install bolts and lower control arm assembly. See Figure. After stabilizing suspension, tighten to specification. See TORQUE SPECIFICATIONS .
- Connect steering gear assembly with bolts. See Figure. Tighten to specification. See TORQUE SPECIFICATIONS .
- Install steering rack housing bracket No. 2 with bolts. See Figure.
- Install stabilizer link to stabilizer bar with bolt and nut. See Figure. Tighten to specification. See TORQUE SPECIFICATIONS .
- Install stabilizer link with nut. Tighten to specification. See TORQUE SPECIFICATIONS .
- Install shock absorber to shock absorber bracket with bolt and nut. See Figure. Tighten to specification. See TORQUE SPECIFICATIONS .
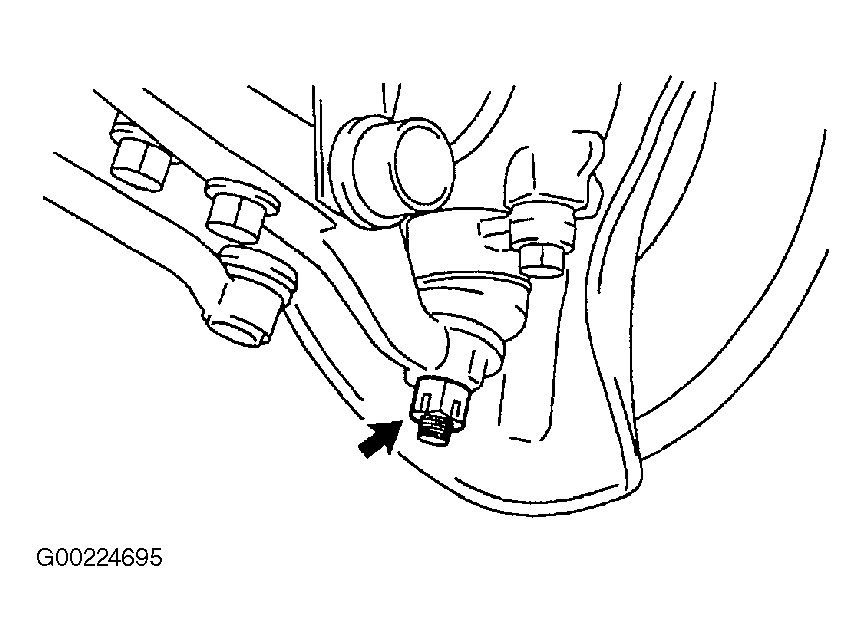
- Install height control sensor link to shock absorber bracket with nut. See Figure. Tighten to specification. See TORQUE SPECIFICATIONS .
- Install engine under cover.
- Install front wheel and tighten lug nuts to specification. See TORQUE SPECIFICATIONS .
- Install wheel hub ornament with bolts. Tighten to specification. See TORQUE SPECIFICATIONS .
- Check wheel alignment. See appropriate SPECIFICATIONS & PROCEDURES article in WHEEL ALIGNMENT.
 Courtesy of © TOYOTA, LICENSE AGREEMENT TMS1002