Yaw Rate Sensor: Removal
- Remove the door scuff plate assembly by disengaging the 4 claws and 5 clips.
- Remove the front door opening trim cover by disengaging the 3 claws.
- Remove the 3 bolts and instrument panel safety pad sub-assembly No. 1.
- Using a molding remover, disengage the 4 claws and remove the console upper panel garnish rear. See Fig 1.
- Set the shift lever into "N"position and close the receptacle door. Using a molding remover, disengage the 6 clips, 4 claws and remove the console panel sub-assembly upper.
- Disengage the 6 clips and remove the air conditioner control assembly.
- Remove the 4 bolts and remove the instrument cluster finish panel sub-assembly lower center.
- Disengage the 3 clips, 2 claws and remove the instrument panel under cover sub-assembly No. 2.
- Remove the 2 bolts, 2 screws and glove compartment door assembly.
- Remove console box carpet.
- Tape a screwdriver tip and remove the box panel No. 3.
- Remove the 8 bolts, 4 screws and disengage the 2 clips and then remove the console box assembly.
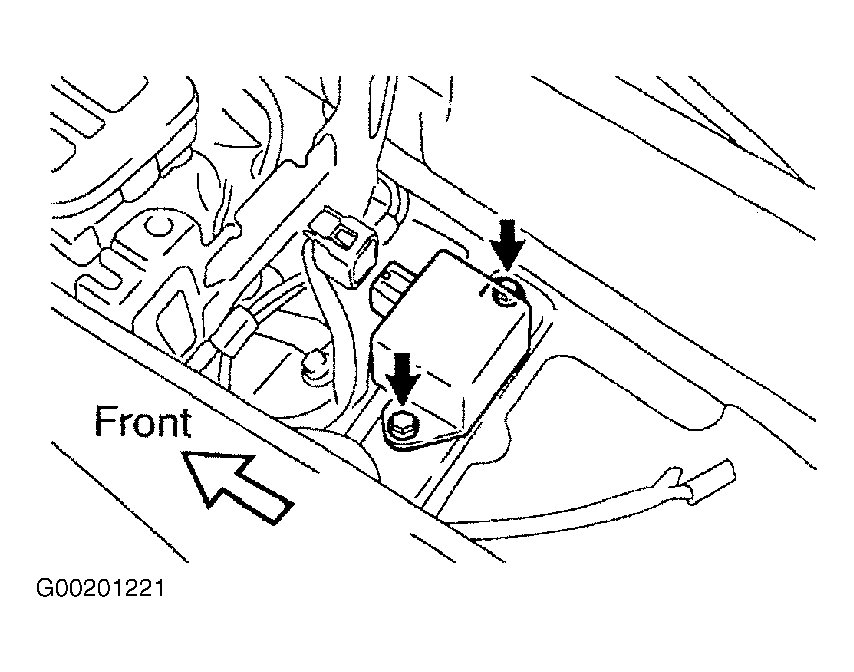
- Disconnect the yaw rate sensor connector. Remove the 2 bolts and yaw rate sensor. See Fig 2.
 Courtesy of © TOYOTA, LICENSE AGREEMENT TMS1002
 Courtesy of © TOYOTA, LICENSE AGREEMENT TMS1002