Fender Removal/Installation
FENDER REMOVAL/INSTALLATION
Removal/Installation
LH and RH Fenders
1. Remove the front bumper cover. See Service and Repair.
2. Remove the fender splash shield. See Fender Splash Shield Removal/Installation.
3. Remove the rocker panel moulding. See .
RH fender
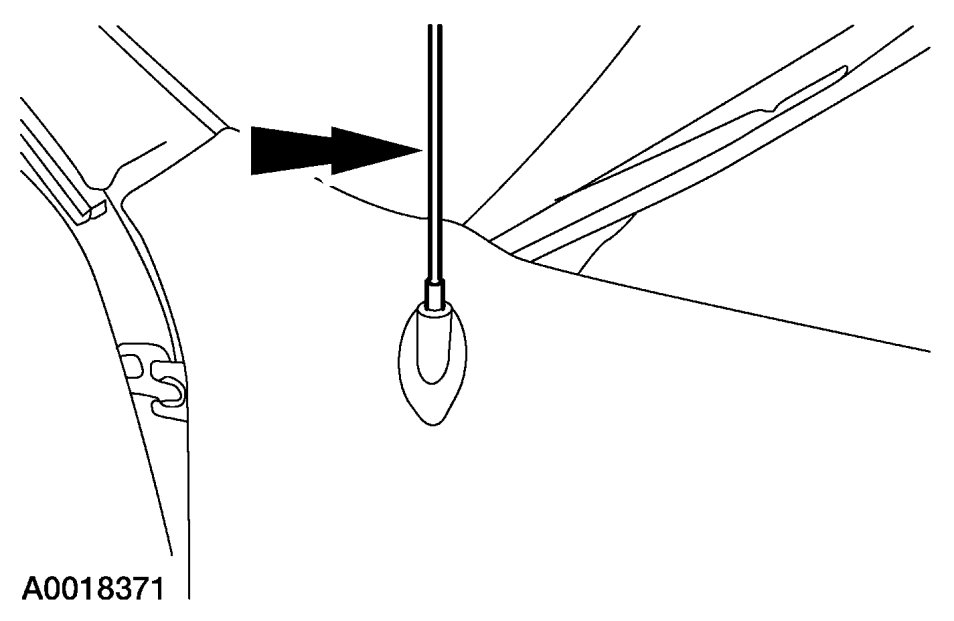
1. Remove the antenna mast and the antenna base fender grommet.
LH and RH Fenders
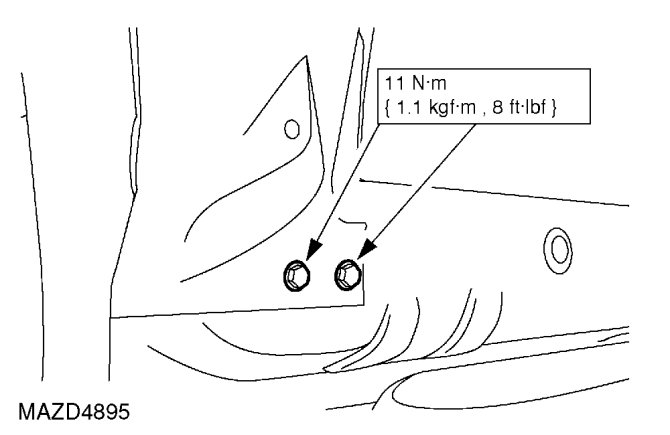
1. Remove the 2 lower rear fender bolts.
- To install, tighten to 11 Nm {1.1 kgf-m, 97 in-lbf}.
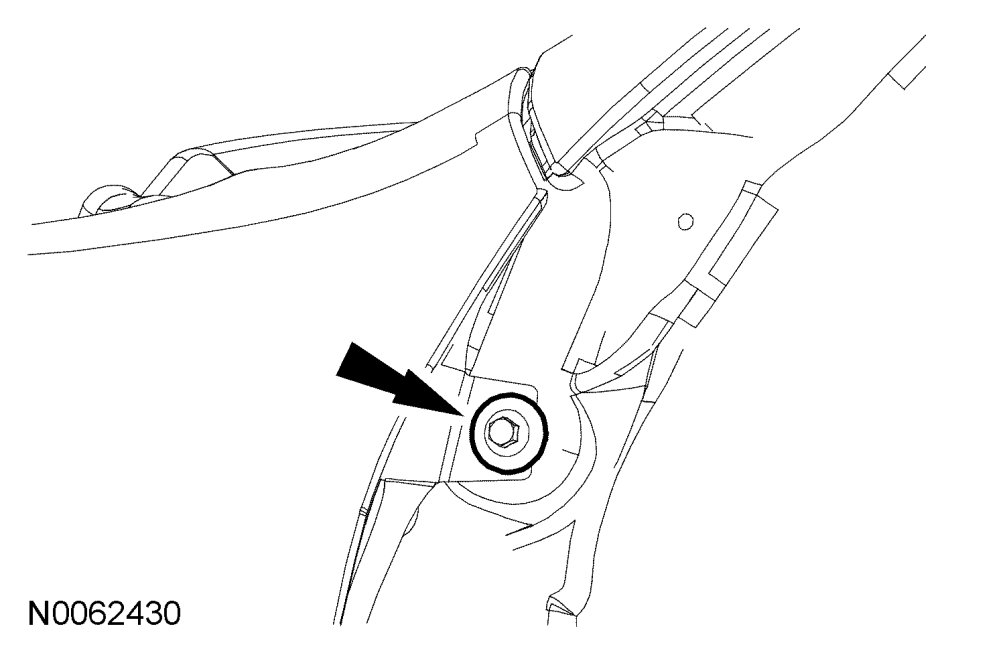
2. Remove the upper rear fender bolt.
- To install, tighten to 11 Nm {1.1 kgf-m, 97 in-lbf}.
NOTE:The front door must be open to gain access to the upper rear fender bolt.
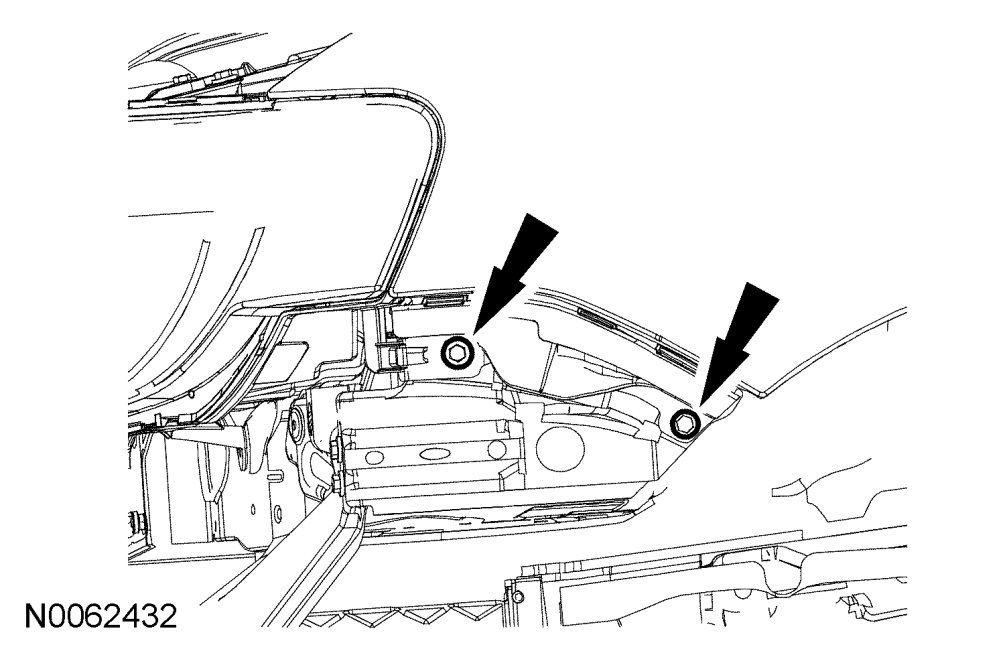
3. Remove the lower front fender bolts.
- To install, tighten to 11 Nm {1.1 kgf-m, 97 in-lbf}.
4. Remove the 3 upper fender bolts and the front fender.
- To install, tighten to 11 Nm {1.1 kgf-m, 97 in-lbf}.
NOTE:On the RH side, the antenna base is mounted to the body inside the fender opening. The RH fender must be lifted over the base during removal.
5. To install, reverse the removal procedure.