AT Main Case: Removal
- Remove the transmission assembly from vehicle body. < Ref. to
REMOVAL , Automatic Transmission Assembly. >
- Pull out the torque converter assembly. < Ref. to
REMOVAL , Torque Converter Assembly. >
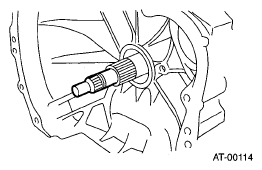
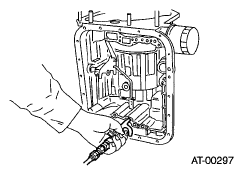
- Remove the input shaft.
 Courtesy of SUBARU OF AMERICA, INC.
- Lift up the lever on the rear side of transmission harness connector, and then disconnect it from the stay.
- Disconnect the inhibitor switch connector from the stay.
- Disconnect the air breather hose.
- Remove the oil charge pipe. < Ref. to
REMOVAL , Oil Charge Pipe. >
- Remove the ATF inlet and outlet pipes. < Ref. to
REMOVAL , ATF Cooler Pipe and Hose. >
- Separate the converter case from the transmission case. < Ref. to
REMOVAL , Converter Case. >
- Remove the oil pump housing. < Ref. to
REMOVAL , Oil Pump Housing. >
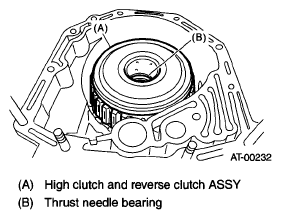
- Take out the high clutch, thrust needle bearing and reverse clutch assembly.
 Courtesy of SUBARU OF AMERICA, INC.
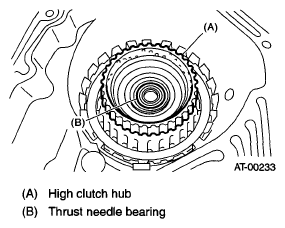
- Take out the high clutch hub and thrust bearing.
 Courtesy of SUBARU OF AMERICA, INC.
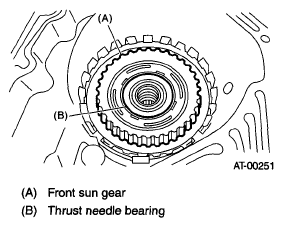
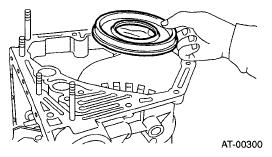
- Take out the front sun gear and thrust needle bearing.
 Courtesy of SUBARU OF AMERICA, INC.
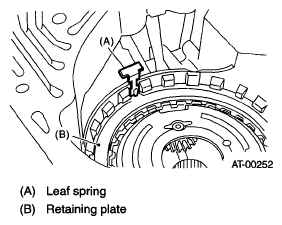
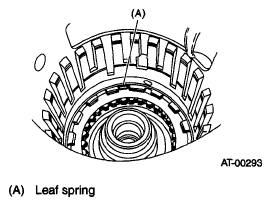
- Pull out while being careful not to break the leaf spring of the 2-4 brake.
 Courtesy of SUBARU OF AMERICA, INC.
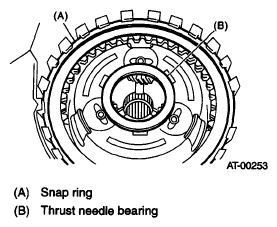
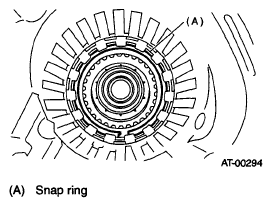
- Remove the snap ring and thrust needle bearing.
 Courtesy of SUBARU OF AMERICA, INC.
- Take out the retaining plate, drive plate and driven plate of the 2-4 brake.
 Courtesy of SUBARU OF AMERICA, INC.
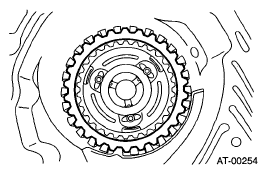
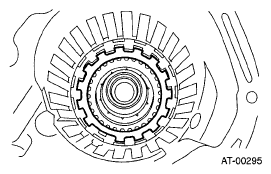
- Take out the thrust needle bearing, planetary gear assembly and low clutch assembly.
 Courtesy of SUBARU OF AMERICA, INC.
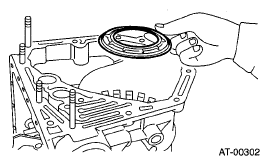
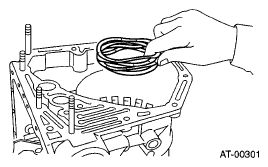
- Remove the 2-4 brake seal.
 Courtesy of SUBARU OF AMERICA, INC.
- Remove the snap ring.
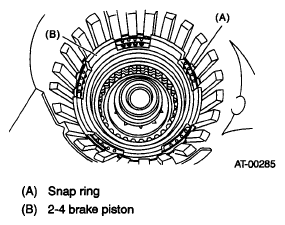 Courtesy of SUBARU OF AMERICA, INC.
- Take out the 2-4 brake spring retainer.
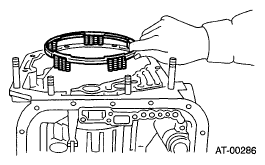 Courtesy of SUBARU OF AMERICA, INC.
- Remove the 2-4 brake piston and 2-4 brake piston retainer while taking care not to damage them.
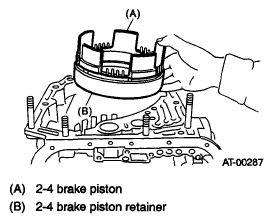 Courtesy of SUBARU OF AMERICA, INC.
- Pull out the leaf spring of the low & reverse brake while being careful not to bend it.
 Courtesy of SUBARU OF AMERICA, INC.
- Remove the snap ring.
 Courtesy of SUBARU OF AMERICA, INC.
- Take out the retaining plate, drive plate, driven plate and dish plate of the low & reverse brake.
 Courtesy of SUBARU OF AMERICA, INC.
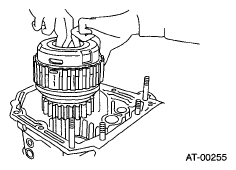
- Turn the transmission case upside down, and then take out the socket bolts while holding the one-way clutch inner race by hand.
 Courtesy of SUBARU OF AMERICA, INC.
- Remove the spring retainer.
 Courtesy of SUBARU OF AMERICA, INC.
- Take out the return spring.
 Courtesy of SUBARU OF AMERICA, INC.
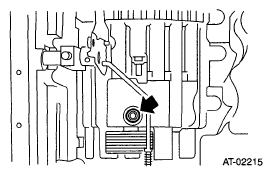
- Apply compressed air.
 Courtesy of SUBARU OF AMERICA, INC.
- Take out the low & reverse brake piston.
 Courtesy of SUBARU OF AMERICA, INC.