- Open LH front door
- Lower LH front window
- Press brake pedal to turn on drive rails
- Set air suspension ride height to "Very High"
NOTE:
Using center display > Controls > Suspension > "Very High"
- Turn wheel fully to the right
- Open hood
NOTE:
Via Center Display > Controls > Frunk Open
- Remove rear underhood apron
NOTE:
8x clips
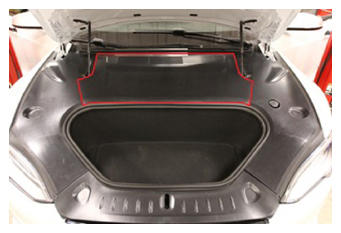 Courtesy of TESLA, INC. Courtesy of TESLA, INC.
|
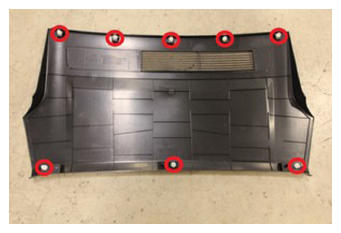 Courtesy of TESLA, INC. Courtesy of TESLA, INC.
|
- Remove LH underhood apron
NOTE:
10x clips
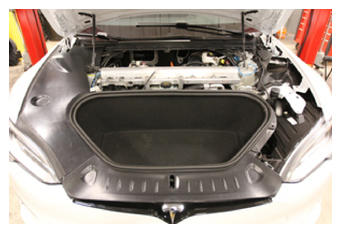 Courtesy of TESLA, INC. Courtesy of TESLA, INC.
|
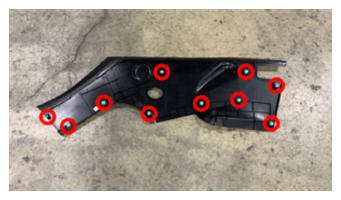 Courtesy of TESLA, INC. Courtesy of TESLA, INC.
|
- Remove RH underhood apron
NOTE:
10x clips
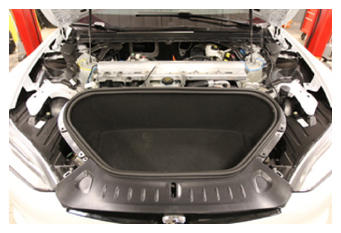 Courtesy of TESLA, INC. Courtesy of TESLA, INC.
|
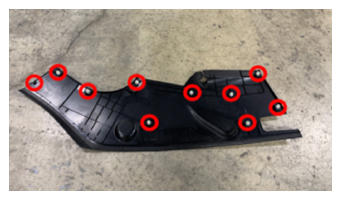 Courtesy of TESLA, INC. Courtesy of TESLA, INC.
|
- Remove front underhood apron
NOTE:
7x clips
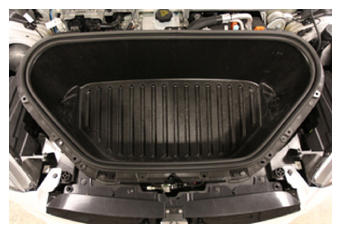 Courtesy of TESLA, INC. Courtesy of TESLA, INC.
|
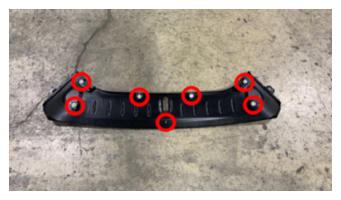 Courtesy of TESLA, INC. Courtesy of TESLA, INC.
|
- Remove bolts securing fascia bracket to carrier
NOTE:
6x bolts, 10 mm, 4 N.m
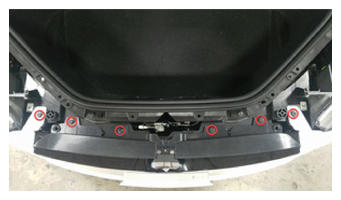 Courtesy of TESLA, INC. Courtesy of TESLA, INC.
|
- Remove push clips securing LH front wheel arch liner to fascia and move to the side for access
NOTE:
5x push clips, Shift bottom of liner down and flex top of liner against tire
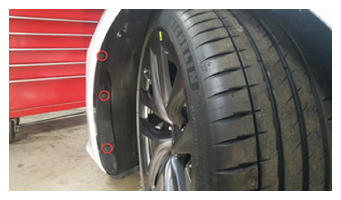 Courtesy of TESLA, INC. Courtesy of TESLA, INC.
|
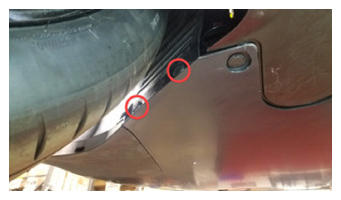 Courtesy of TESLA, INC. Courtesy of TESLA, INC.
|
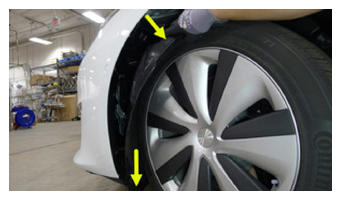 Courtesy of TESLA, INC. Courtesy of TESLA, INC.
|
- Remove bolt securing front fascia to LH fender bracket
NOTE:
1x bolt, T25, 5 N.m
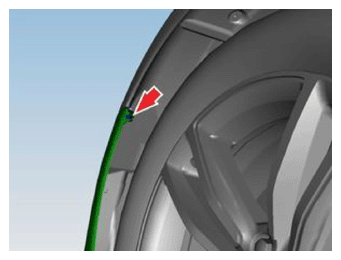 Courtesy of TESLA, INC. Courtesy of TESLA, INC.
|
- Press brake pedal to turn on drive rails
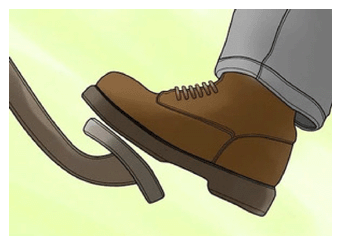 Courtesy of TESLA, INC. Courtesy of TESLA, INC.
|
- Turn wheel fully to the left
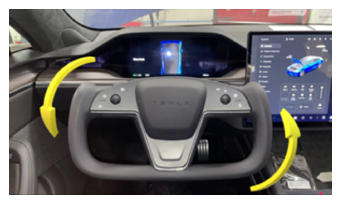 Courtesy of TESLA, INC. Courtesy of TESLA, INC.
|
- Remove push clips securing RH front wheel arch liner to fascia and move to the side for access
NOTE:
5x push clips, Shift bottom of liner down and flex top of liner against tire
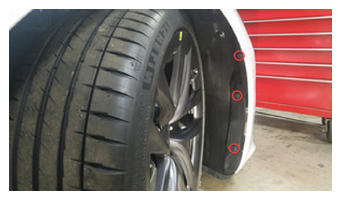 Courtesy of TESLA, INC. Courtesy of TESLA, INC.
|
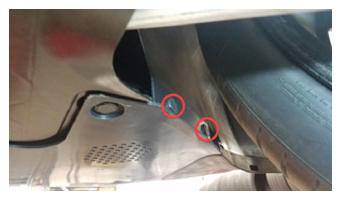 Courtesy of TESLA, INC. Courtesy of TESLA, INC.
|
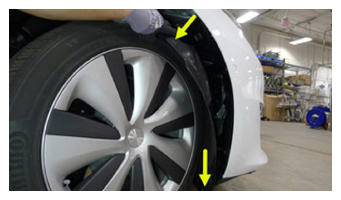 Courtesy of TESLA, INC. Courtesy of TESLA, INC.
|
- Remove bolt securing front fascia to RH fender bracket
NOTE:
1x bolt, T25, 5 N.m
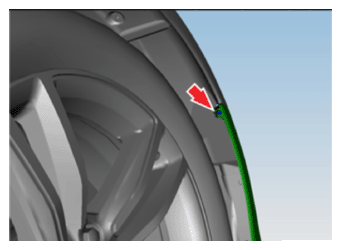 Courtesy of TESLA, INC. Courtesy of TESLA, INC.
|
- Power off vehicle from center display
NOTE:
Via Controls > Safety & Security > Power Off
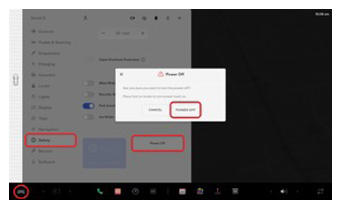 Courtesy of TESLA, INC. Courtesy of TESLA, INC.
|
- Disconnect LV battery connector and First Responder Loop
NOTE:
2x connectors, Lift up and release green locking tab, Pull black connector lock outwards to release connection
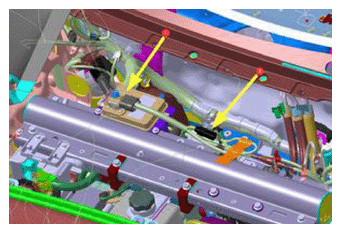 Courtesy of TESLA, INC. Courtesy of TESLA, INC.
|
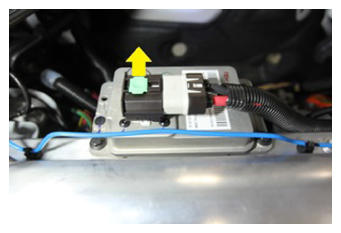 Courtesy of TESLA, INC. Courtesy of TESLA, INC.
|
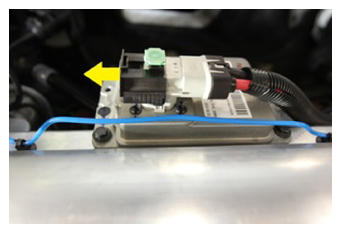 Courtesy of TESLA, INC. Courtesy of TESLA, INC.
|
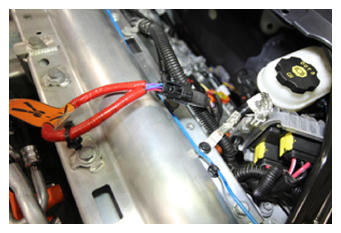 Courtesy of TESLA, INC. Courtesy of TESLA, INC.
|
- Disconnect front fascia harness
NOTE:
2x connectors, Pull red tab to disengage lock then disconnect, Located behind RH wheel arch liner
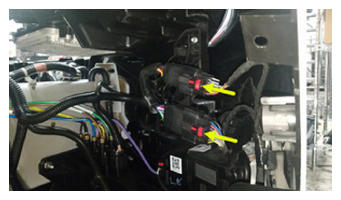 Courtesy of TESLA, INC. Courtesy of TESLA, INC.
|
- Release front fascia valance from front aero shield
NOTE:
3x bolts, 10 mm, 6 N.m, 2x clips, 2x datums, Do not remove 3x middle bolts
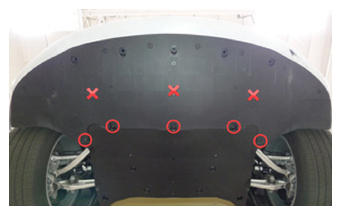 Courtesy of TESLA, INC. Courtesy of TESLA, INC.
|
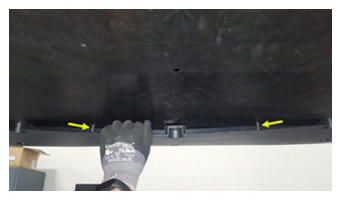 Courtesy of TESLA, INC. Courtesy of TESLA, INC.
|
- Release fascia from fender brackets and pull forward to remove from vehicle
NOTE:
Set fascia on protected surface, Recommend assistance
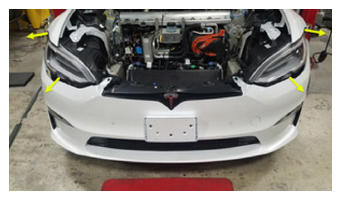 Courtesy of TESLA, INC. Courtesy of TESLA, INC.
|
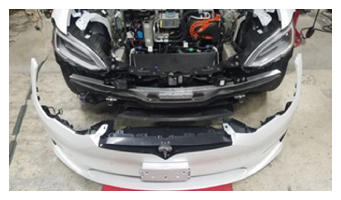 Courtesy of TESLA, INC. Courtesy of TESLA, INC.
|
- Disconnect RH pressure tube sensor
NOTE:
1x connector, release locking tab
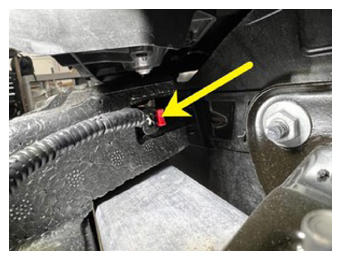 Courtesy of TESLA, INC. Courtesy of TESLA, INC.
|
- Disconnect LH pressure tube sensor
NOTE:
1x connector, release locking tab
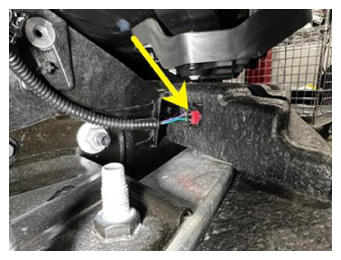 Courtesy of TESLA, INC. Courtesy of TESLA, INC.
|
- Remove brush clips securing bumper foam onto front bumper beam
NOTE:
4x Brush clips, Replace clips if damaged, 1x Bumper beam foam, replace if damaged
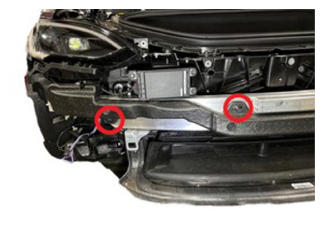 Courtesy of TESLA, INC. Courtesy of TESLA, INC.
|
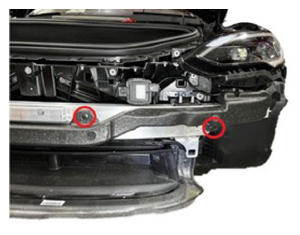 Courtesy of TESLA, INC. Courtesy of TESLA, INC.
|
- Remove bumper foam from vehicle
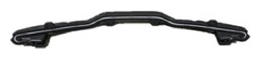 Courtesy of TESLA, INC. Courtesy of TESLA, INC.
|
- Remove pressure tube from bumper foam
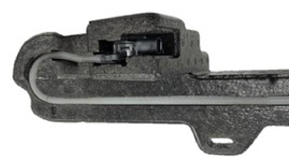 Courtesy of TESLA, INC. Courtesy of TESLA, INC.
|
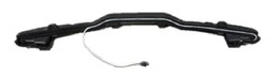 Courtesy of TESLA, INC. Courtesy of TESLA, INC.
|
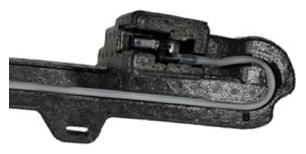 Courtesy of TESLA, INC. Courtesy of TESLA, INC.
|
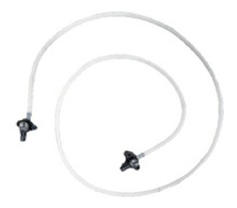 Courtesy of TESLA, INC. Courtesy of TESLA, INC.
|
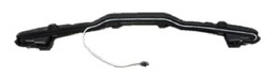
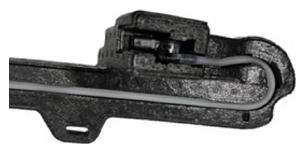
- Install pressure tube into bumper foam
NOTE:
When inserting pedestrian protection sensor into foam assembly ensure the center marking on the tube lines up with the center inboard fir tree clip and that the tube is not twisted
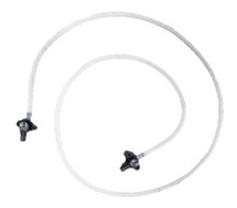 Courtesy of TESLA, INC. Courtesy of TESLA, INC.
|
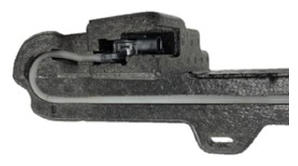 Courtesy of TESLA, INC. Courtesy of TESLA, INC.
|
 Courtesy of TESLA, INC. Courtesy of TESLA, INC.
|
 Courtesy of TESLA, INC. Courtesy of TESLA, INC.
|
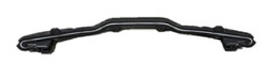
- Position bumper foam onto front bumper beam
 Courtesy of TESLA, INC. Courtesy of TESLA, INC.
|
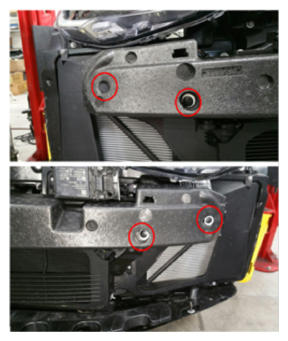
- Install brush clips securing bumper foam onto front bumper beam
NOTE:
4x brush clips
 Courtesy of TESLA, INC. Courtesy of TESLA, INC.
|
- Reconnect LH pressure tube sensor
NOTE:
1x connector, secure locking tab
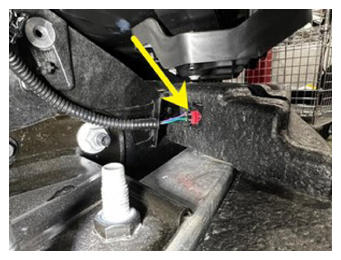 Courtesy of TESLA, INC. Courtesy of TESLA, INC.
|
- Reconnect RH pressure tube sensor
NOTE:
1x connector, secure locking tab
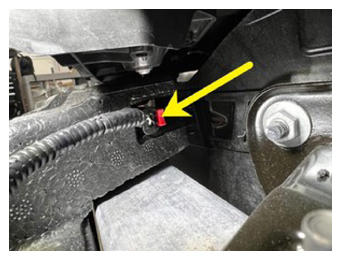 Courtesy of TESLA, INC. Courtesy of TESLA, INC.
|
- Install front fascia onto vehicle and secure fascia to fender brackets
NOTE:
Recommend Assistance, Route fascia harness while installing, Verify front fascia valance sits under front aero shield before proceeding
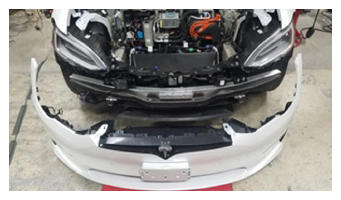 Courtesy of TESLA, INC. Courtesy of TESLA, INC.
|
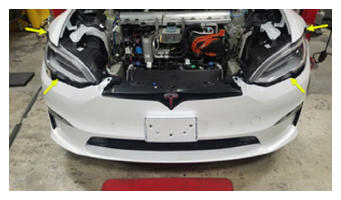 Courtesy of TESLA, INC. Courtesy of TESLA, INC.
|
- Apply Loctite 222 to fasteners and secure front fascia valance to front aero shield
NOTE:
3x bolts, 10 mm, 6 N.m, 2x clips, 2x datums, Insert valance datums into aero shield holes, Do not remove 3x middle bolts
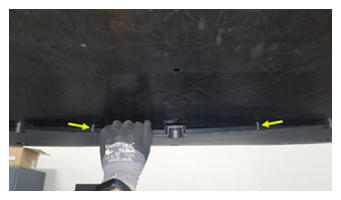 Courtesy of TESLA, INC. Courtesy of TESLA, INC.
|
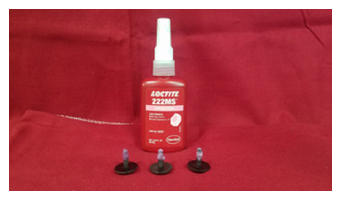 Courtesy of TESLA, INC. Courtesy of TESLA, INC.
|
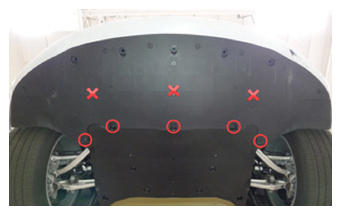 Courtesy of TESLA, INC. Courtesy of TESLA, INC.
|
- Connect front fascia harness
NOTE:
2x connectors, Engage locking tab, Located behind RH wheel arch liner
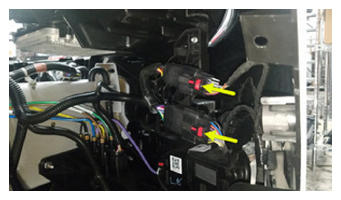 Courtesy of TESLA, INC. Courtesy of TESLA, INC.
|
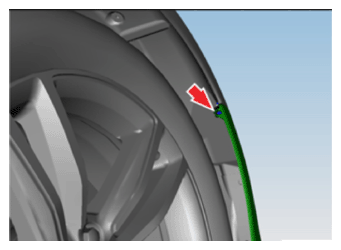
- Install bolt securing fascia to RH fender bracket
NOTE:
1x bolt, T25, 5 N.m
 Courtesy of TESLA, INC. Courtesy of TESLA, INC.
|
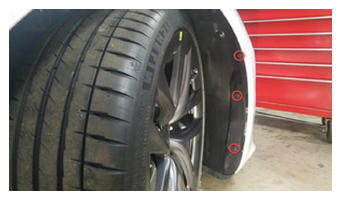
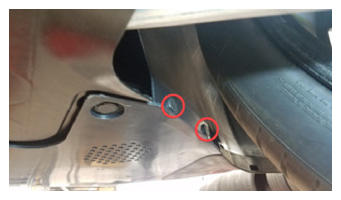
- Install push clips securing RH front wheel liner to fascia
NOTE:
5x push clips
 Courtesy of TESLA, INC. Courtesy of TESLA, INC.
|
 Courtesy of TESLA, INC. Courtesy of TESLA, INC.
|
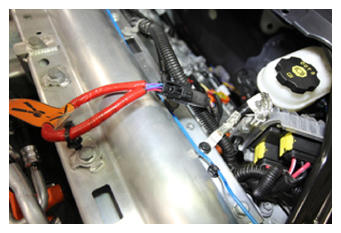
- Connect First Responder Loop and LV battery connector
NOTE:
2x connectors Secure FRL first, Seat LV battery connection and push black connector lock inwards to secure, Engage green locking tab when fully seated
 Courtesy of TESLA, INC. Courtesy of TESLA, INC.
|
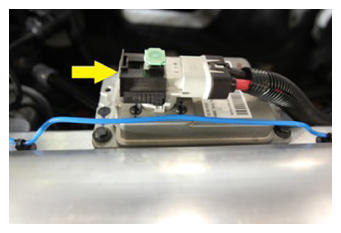 Courtesy of TESLA, INC. Courtesy of TESLA, INC.
|
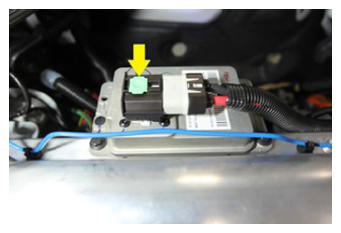 Courtesy of TESLA, INC. Courtesy of TESLA, INC.
|
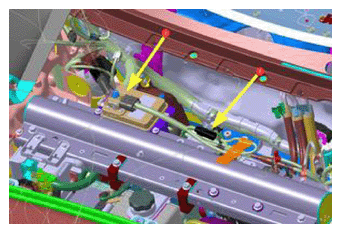 Courtesy of TESLA, INC. Courtesy of TESLA, INC.
|
- Press brake pedal to turn on drive rails
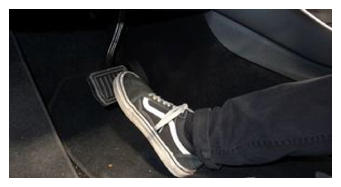 Courtesy of TESLA, INC. Courtesy of TESLA, INC.
|
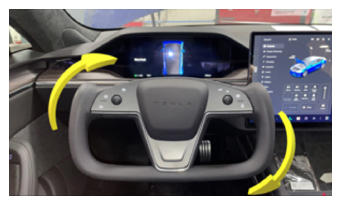
- Turn wheel fully to the right
 Courtesy of TESLA, INC. Courtesy of TESLA, INC.
|
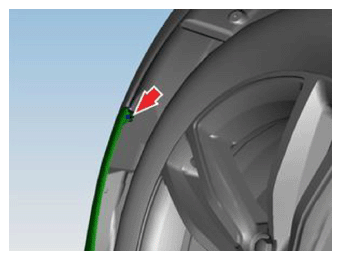
- Install bolt securing fascia to LH fender bracket
NOTE:
1x bolt, T25, 5 N.m
 Courtesy of TESLA, INC. Courtesy of TESLA, INC.
|
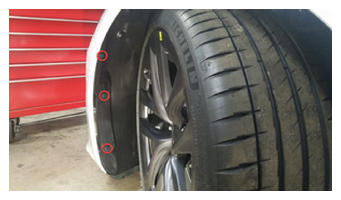
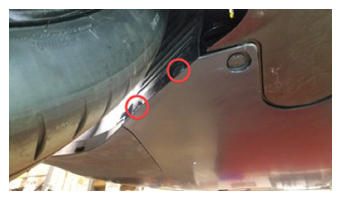
- Install push clips securing LH front wheel liner to fascia
NOTE:
5x push clips
 Courtesy of TESLA, INC. Courtesy of TESLA, INC.
|
 Courtesy of TESLA, INC. Courtesy of TESLA, INC.
|
- Install bolts securing fascia bracket to carrier
NOTE:
6x bolts, 10 mm, 4 N.m
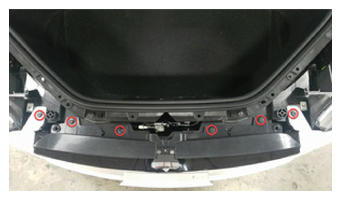 Courtesy of TESLA, INC. Courtesy of TESLA, INC.
|
- Install front underhood apron
NOTE:
7x clips
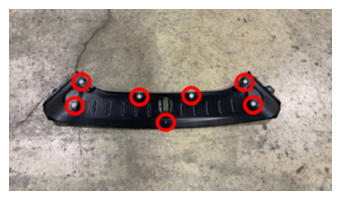 Courtesy of TESLA, INC. Courtesy of TESLA, INC.
|
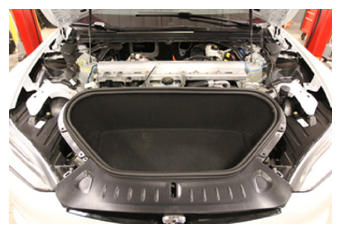 Courtesy of TESLA, INC. Courtesy of TESLA, INC.
|
- Install RH underhood apron
NOTE:
10x clips
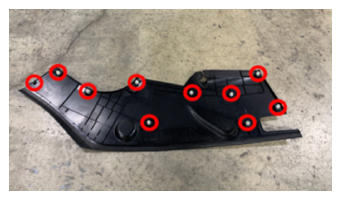 Courtesy of TESLA, INC. Courtesy of TESLA, INC.
|
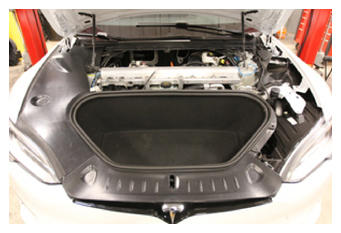 Courtesy of TESLA, INC. Courtesy of TESLA, INC.
|
- Install LH underhood apron
NOTE:
10x clips
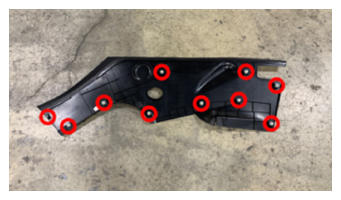 Courtesy of TESLA, INC. Courtesy of TESLA, INC.
|
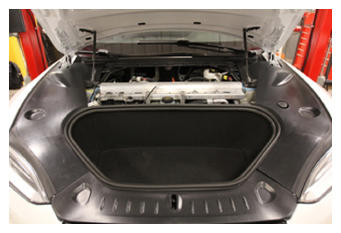 Courtesy of TESLA, INC. Courtesy of TESLA, INC.
|
- Install rear underhood apron
NOTE:
8x clips
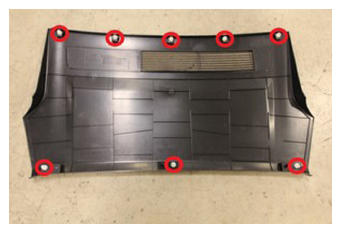 Courtesy of TESLA, INC. Courtesy of TESLA, INC.
|
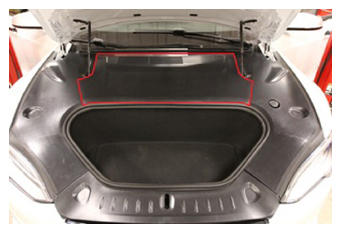 Courtesy of TESLA, INC. Courtesy of TESLA, INC.
|
- Close hood
NOTE:
Press firmly in green highlighted areas (see image), Damage may result from pressure elsewhere on hood
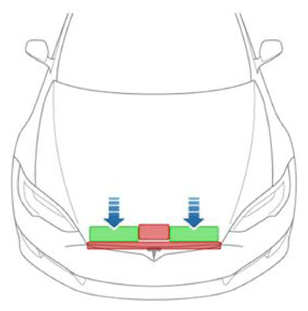 Courtesy of TESLA, INC. Courtesy of TESLA, INC.
|
- Press brake pedal to turn on drive rails
- Turn steering wheel back to center
- Remove air suspension from Jack Mode and set to "Standard"
NOTE:
Using center display > Controls > Service > "JACK MODE", Using center display > Controls > Suspension > "Standard"
- Raise LH front window
- Close LH front door