September 30: LEMON manuals is back up on a temporary server! Slowness is possible
General Information
WARNING:
Before using the product, make sure to read and understand the Material Safety Data Sheet supplied by the manufacturer or supplier.
WARNING:
Wear safety goggles and protective gloves.
NOTE:
Always follow the relevant supplier's recommendations.
NOTE:
Do not mix products from different suppliers.
See information about bonded windows, general safety information. Refer to BONDED WINDOW, GENERAL SAFETY INFORMATION
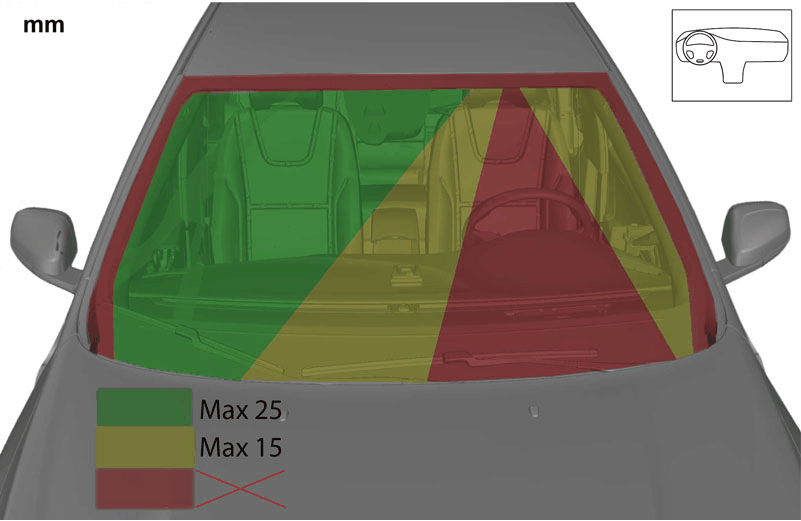 Courtesy of VOLVO CARS CORPORATION
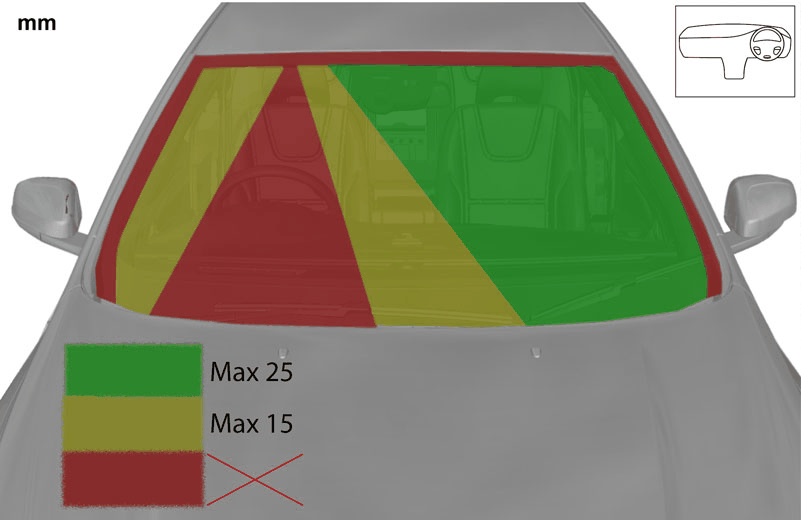 Courtesy of VOLVO CARS CORPORATION
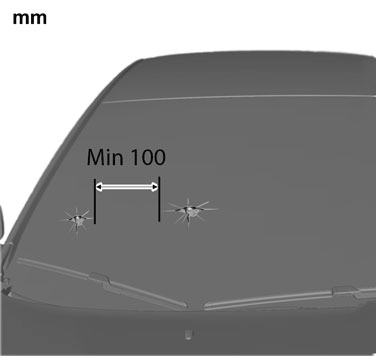 Courtesy of VOLVO CARS CORPORATION
Minimum distance between damaged areas in the pane of glass is 100 mm.
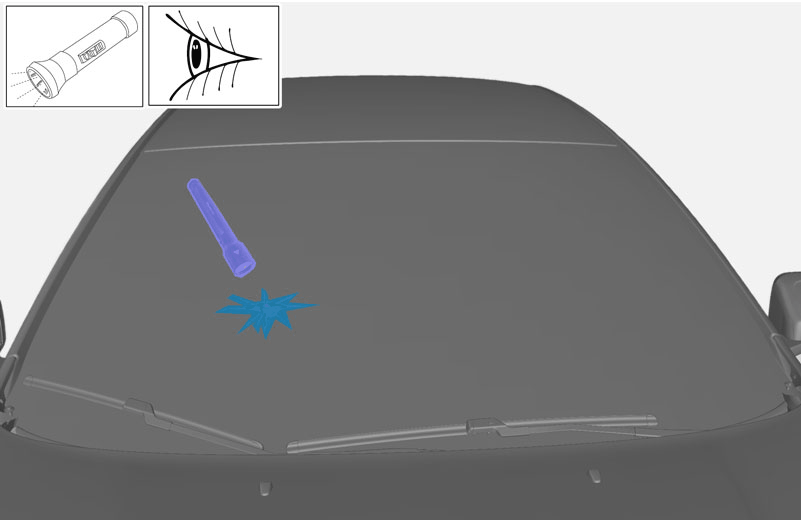 Courtesy of VOLVO CARS CORPORATION
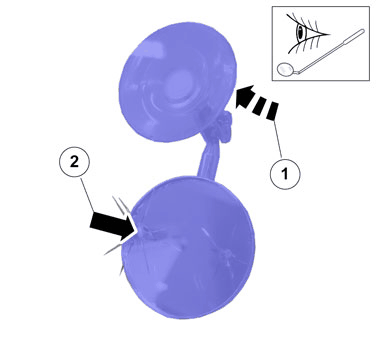 Courtesy of VOLVO CARS CORPORATION
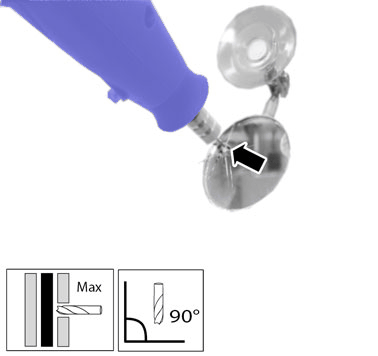 Courtesy of VOLVO CARS CORPORATION
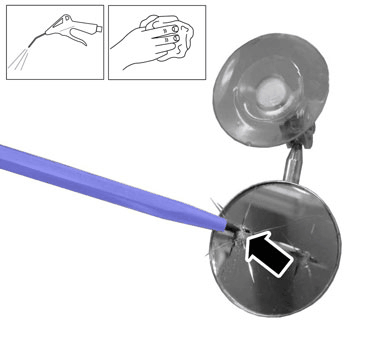 Courtesy of VOLVO CARS CORPORATION
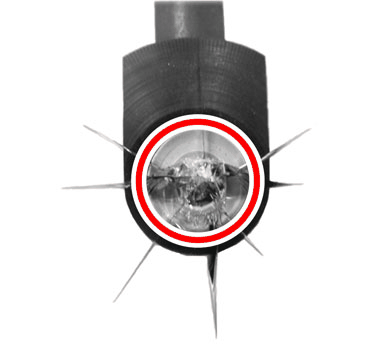 Courtesy of VOLVO CARS CORPORATION
Center the tool and apply resin filler according to the manufacturer's instructions.
 Courtesy of VOLVO CARS CORPORATION
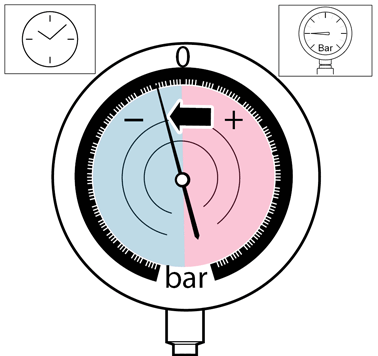
Create a vacuum using the tool and allow the resin filler to run out into the damaged area.
 Courtesy of VOLVO CARS CORPORATION
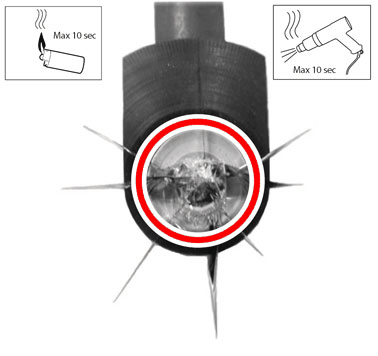
Heat the pane of glass from the inside and rub the window by hand to remove any air from the damaged area and help the resin filler flow out.
 Courtesy of VOLVO CARS CORPORATION
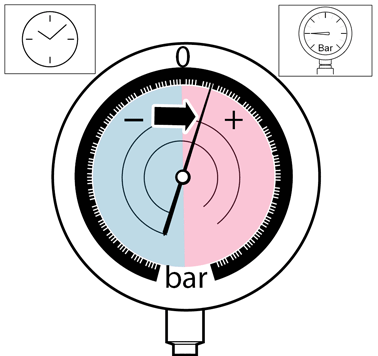
Create an overpressure using the tool and allow the resin filler to run out into the damaged area.
Courtesy of VOLVO CARS CORPORATION
Heat the pane of glass from the inside and rub the window by hand to remove any air from the damaged area and help the resin filler flow out.
 Courtesy of VOLVO CARS CORPORATION
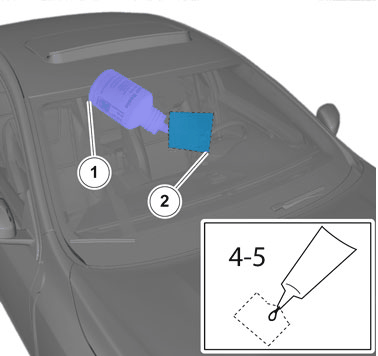
Apply resin filler directly to the damaged area. Apply a plastic film to keep the resin filler in place.
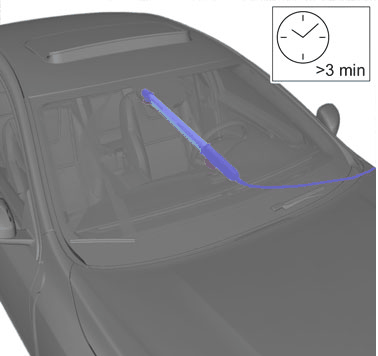 Courtesy of VOLVO CARS CORPORATION
Use UV light to cure the resin filler.
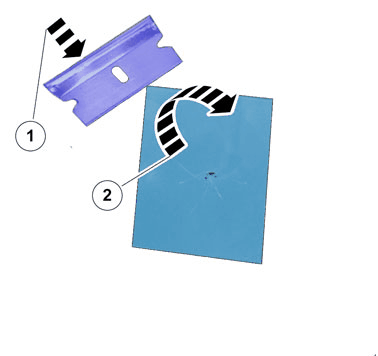 Courtesy of VOLVO CARS CORPORATION
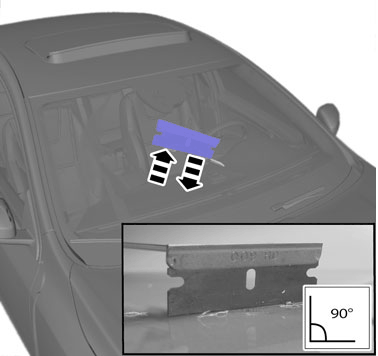 Courtesy of VOLVO CARS CORPORATION
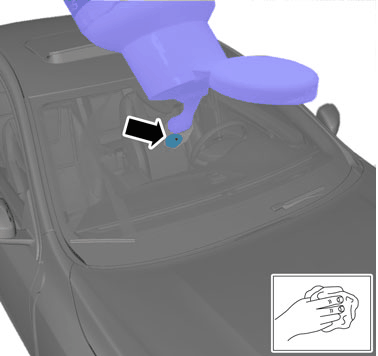 Courtesy of VOLVO CARS CORPORATION
Polish with polish.